We are coming up on our four year wedding anniversary, my 32nd birthday, and the third anniversary of owning our first home! Before we moved here, we rented an apartment for two years and I was seriously itching to buy a house. We stumbled upon this house on Father’s Day, the previous buyer had fallen through and it was back on the market. It was meant to be! Evan likes to joke that I have since painted every room in the house, but that is not true. I’ve only painted 7 rooms.
We have done a lot of projects but mostly small stuff, except the deck we just built which you could practically land a helicopter on. Don’t ask me why it is so big, I think we could have made it half the size, I’ll never be able to find enough furniture. It looks so empty right now, but I’m working on it.
Our most recent project, the built-in kitchen chalkboard, was super easy but it took some convincing to get my husband to go through with it. Before I share these photos, keep in mind that I had no intention of posting them on a blog one day. So, my apologies if they are not the best.
Before
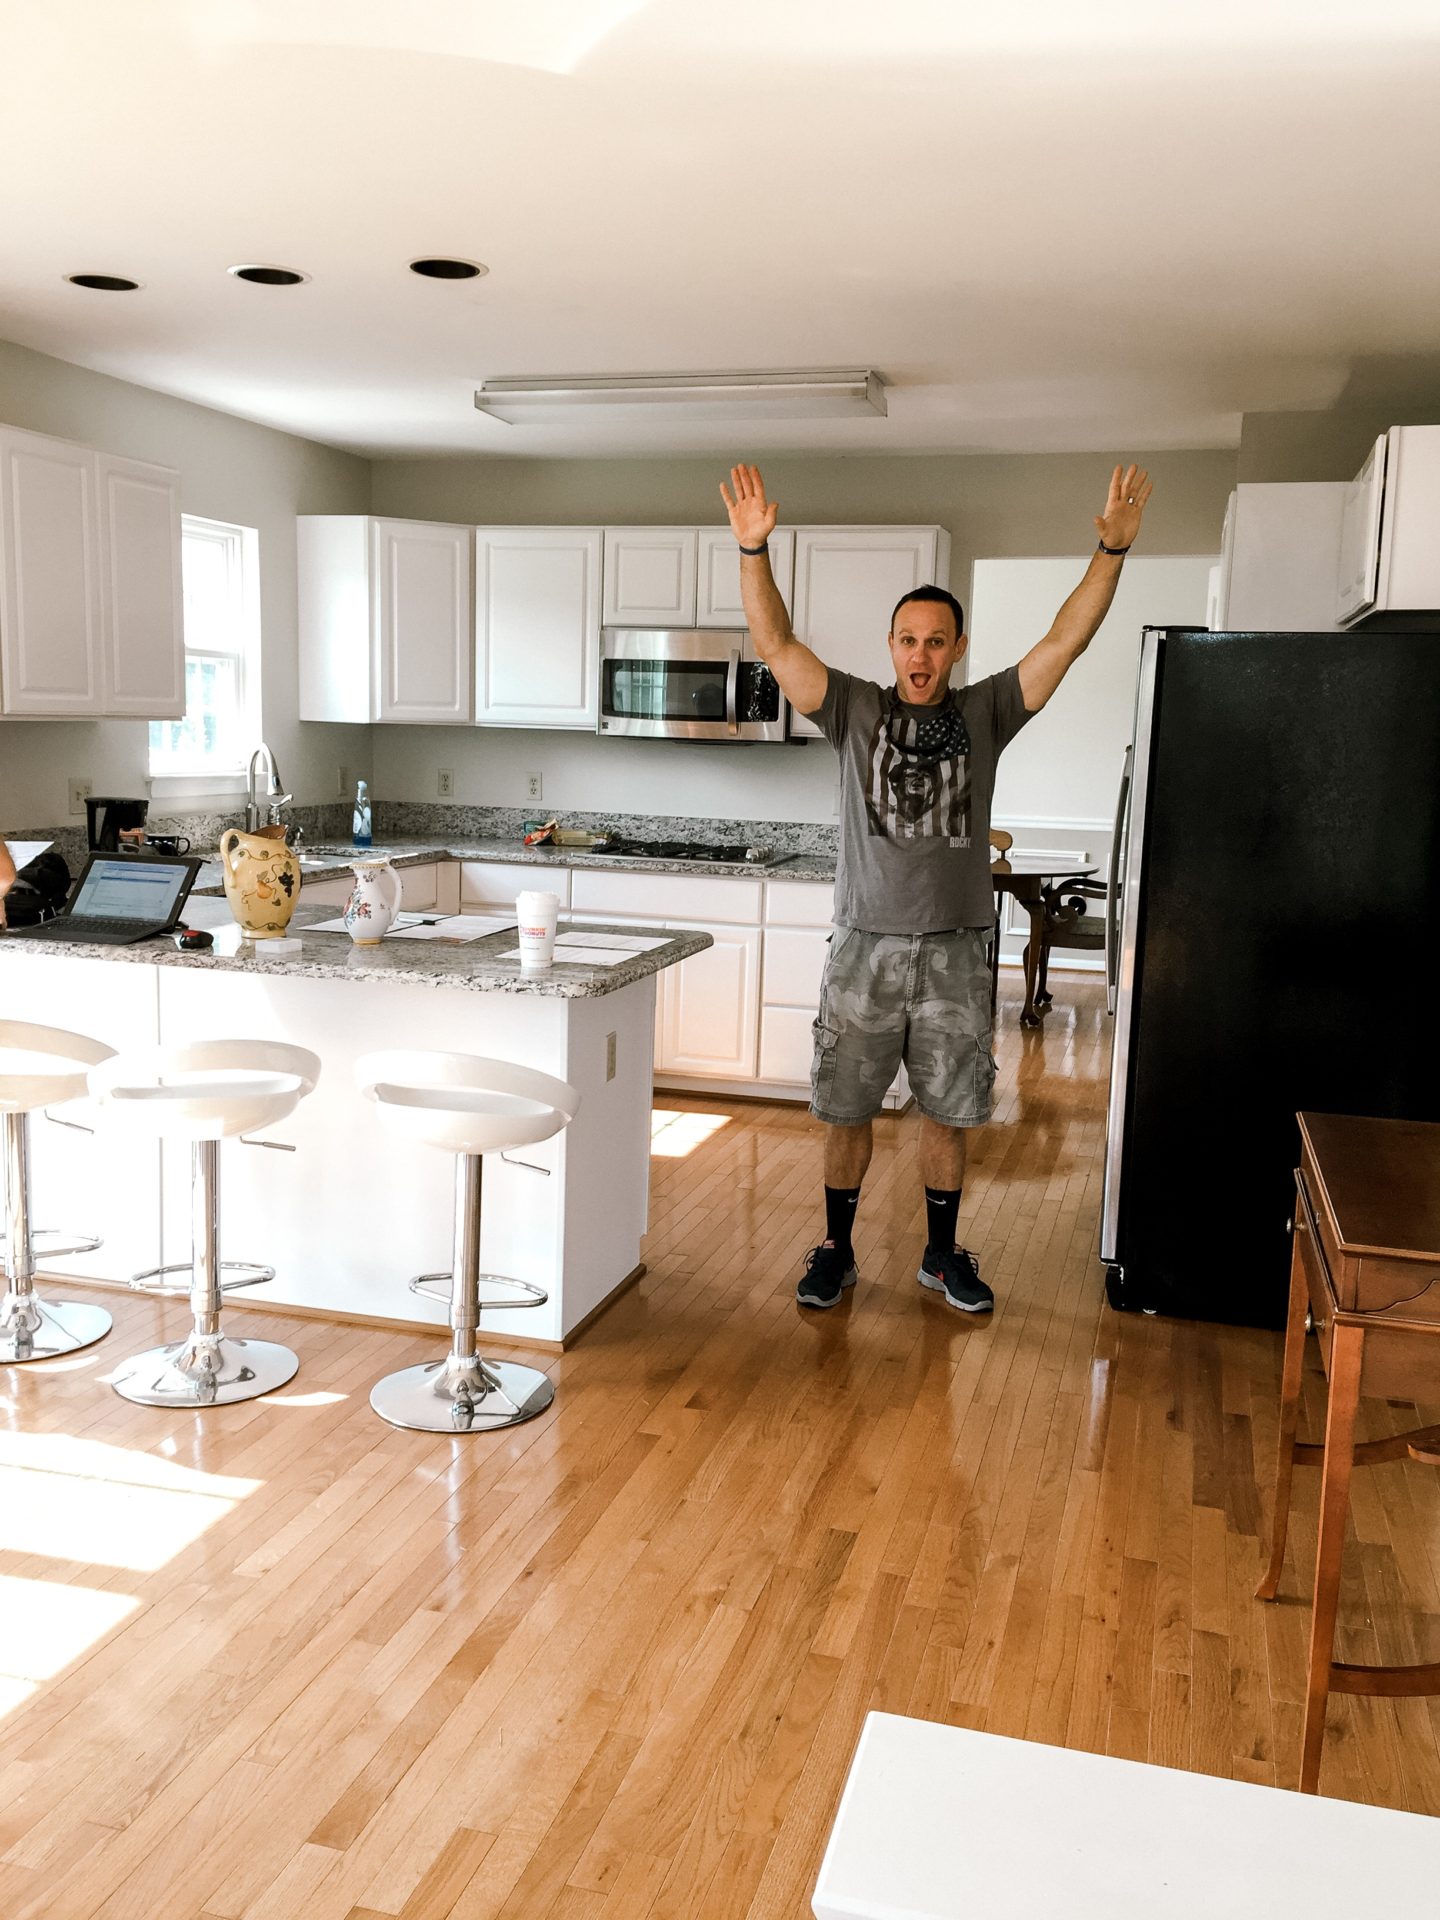
This is what our kitchen looked like when we moved in. We have since added hardware, a backsplash, and crown moulding above the cabinets. Replaced the light fixture, the refrigerator, and the barstools. We went with an Electrolux counter depth refrigerator and decided to finally build it in and add a chalkboard!
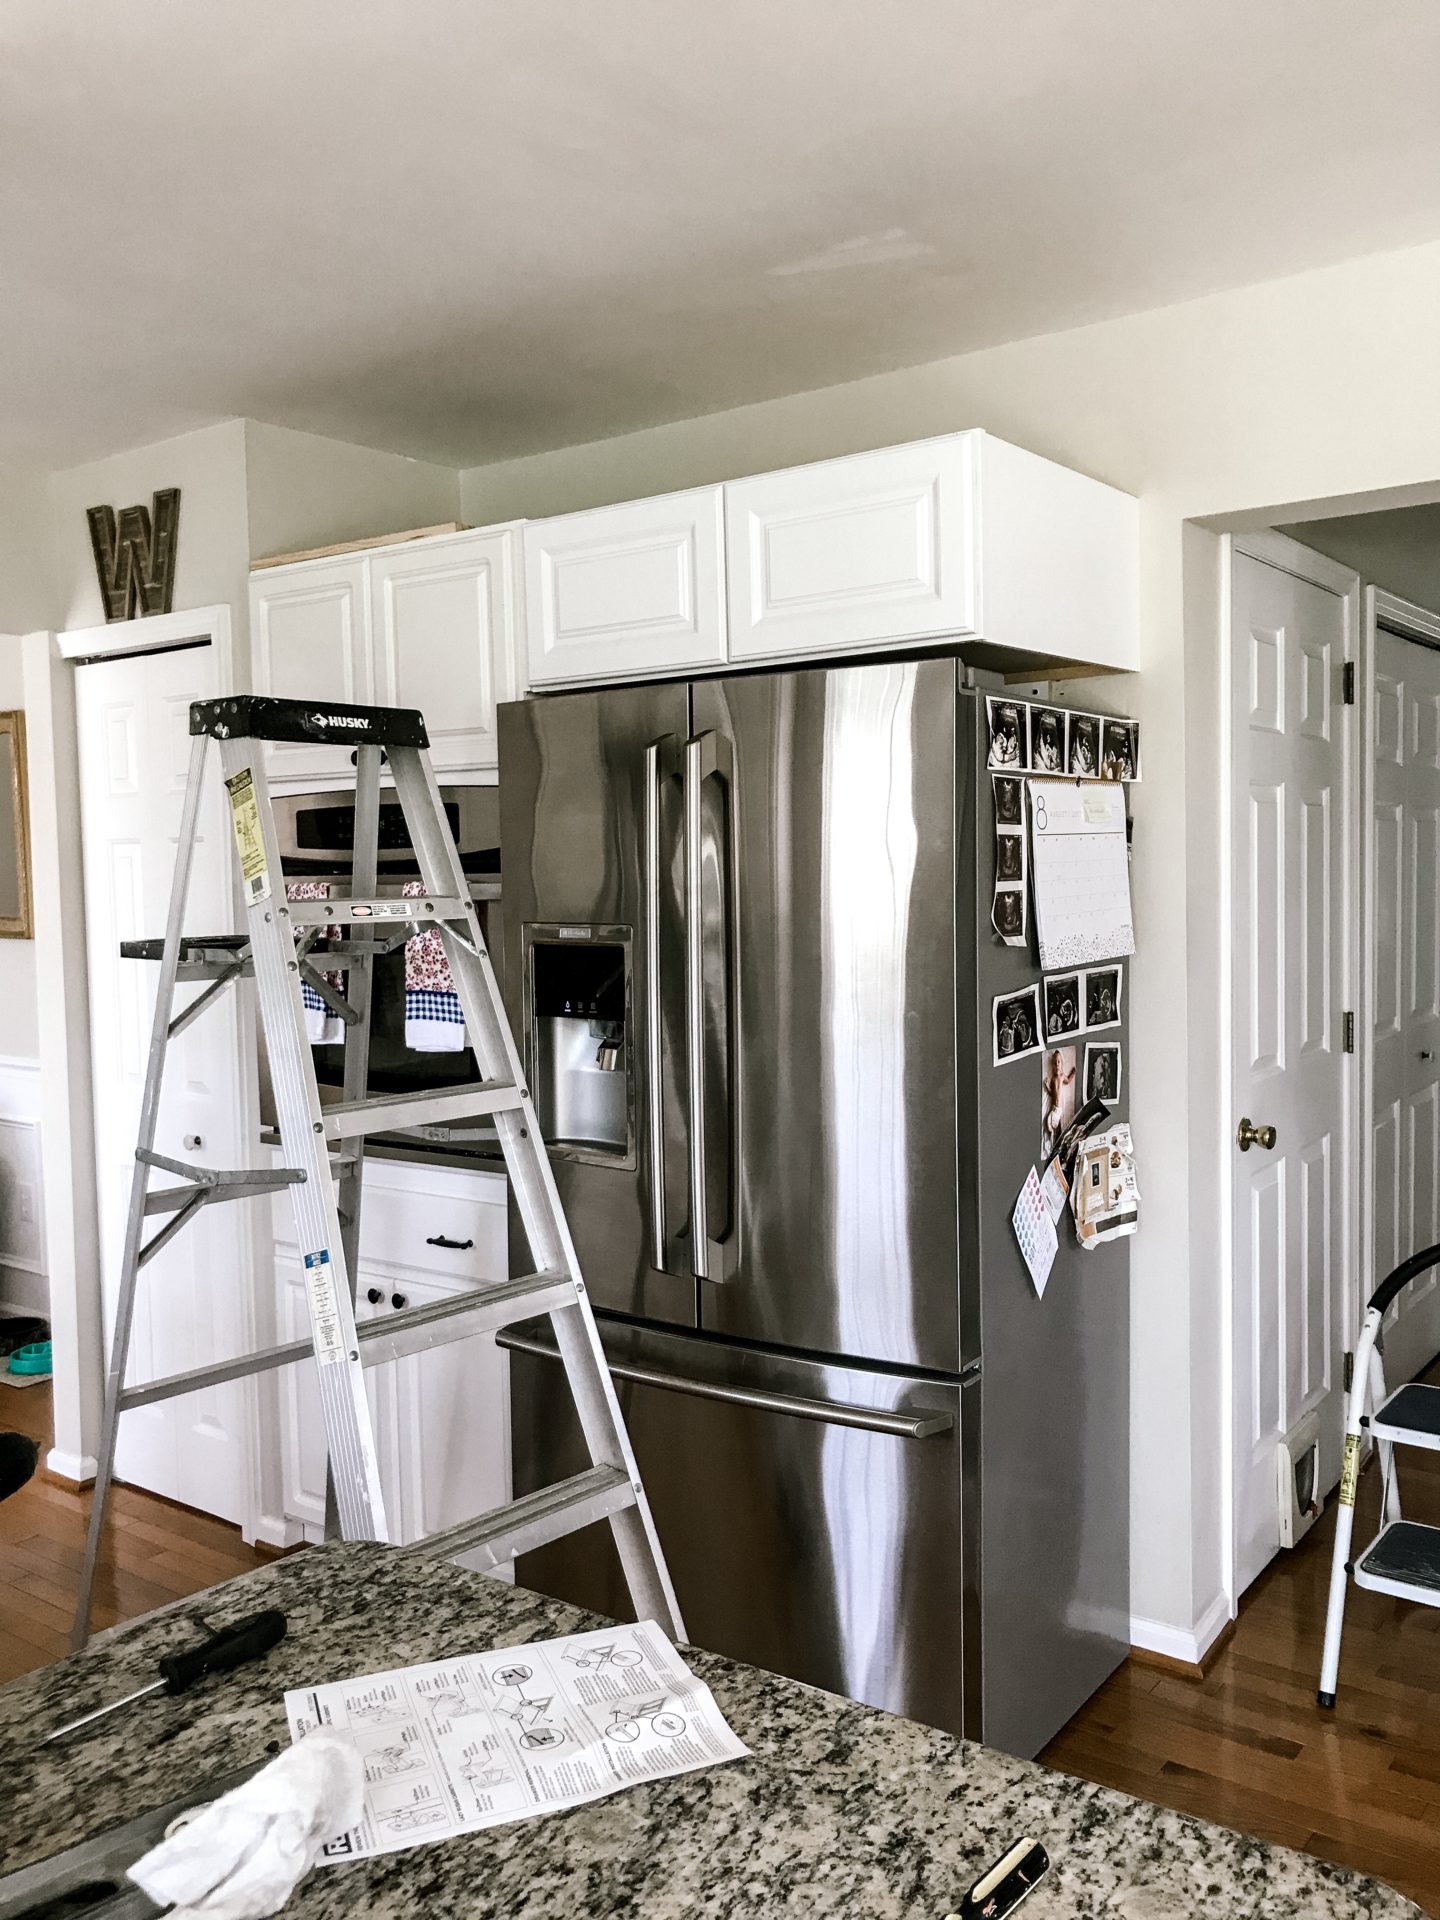
At first, my husband just put the cabinet on top and did not add the panel on the side. It stayed like this for 8 months until I could finally convince him to add it so I could have my chalkboard. Sometimes we argue about projects for the longest time, and then he finally agrees with me.
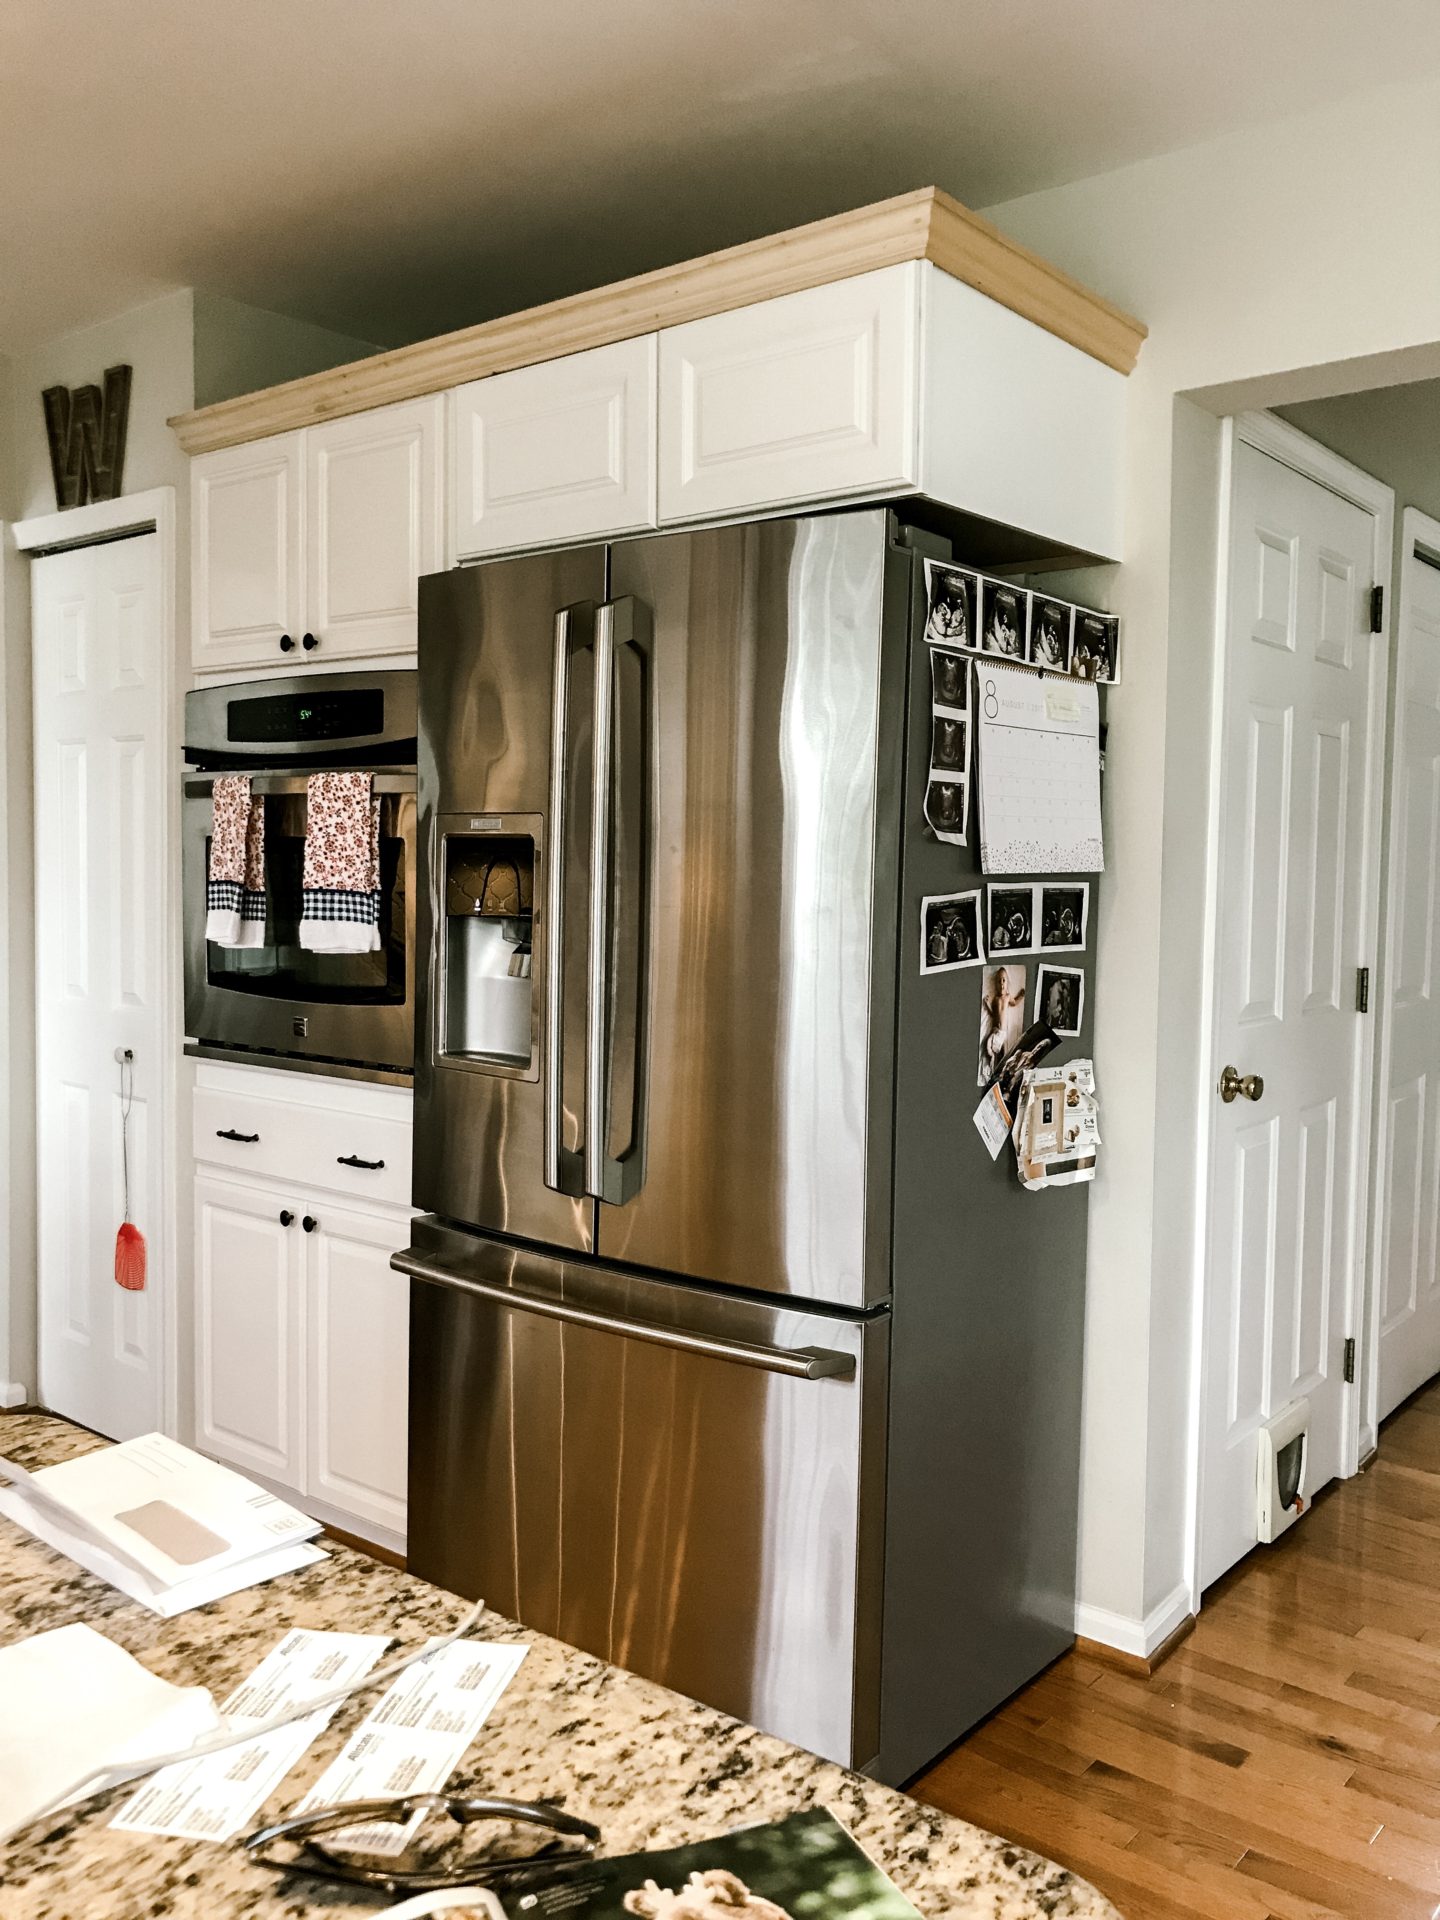
This project turned out to be a piece of cake! Anyone else experience this with their significant other? Can we skip the arguing and just remember that I am almost always right?! You can see that the cabinet above the oven has yellowed, so I do intend to paint it one day. For now, I am just dealing with it. We also don’t own a cat and have yet to replace the door to the basement. Ideally I want a french door there, so I will probably wait until we finish the basement and just replace it then.
So. Many. Projects!
The How-To: Built-In Kitchen Chalkboard
Okay, on to the actual chalkboard. The first step was to remove the baseboard moulding (this is the whole reason Evan didn’t want to do this in the first place) and the crown moulding on top of the cabinet. All complaining aside, I am so fortunate to have a husband who will help me with these projects, he is the best 
We purchased a 4 x 8 sheet of 1/4 inch pine plywood from Home Depot and cut it to fit. We then leveled a 1 x 1 flush to the cabinet and secured it to the wall with drywall screws. Be sure to drill pilot holes first in the 1×1 so that the wood doesn’t split. Next we attached the cut and sanded 1/4 inch plywood to the 1 x 1 and added the trim (1/4 inch by 3 inch 4 foot oak board) using finishing nails. We decided not to secure it to the floor in order to avoid ruining the hardwood floors. The plywood is very heavy and sturdy, and this seems to be working out just fine.
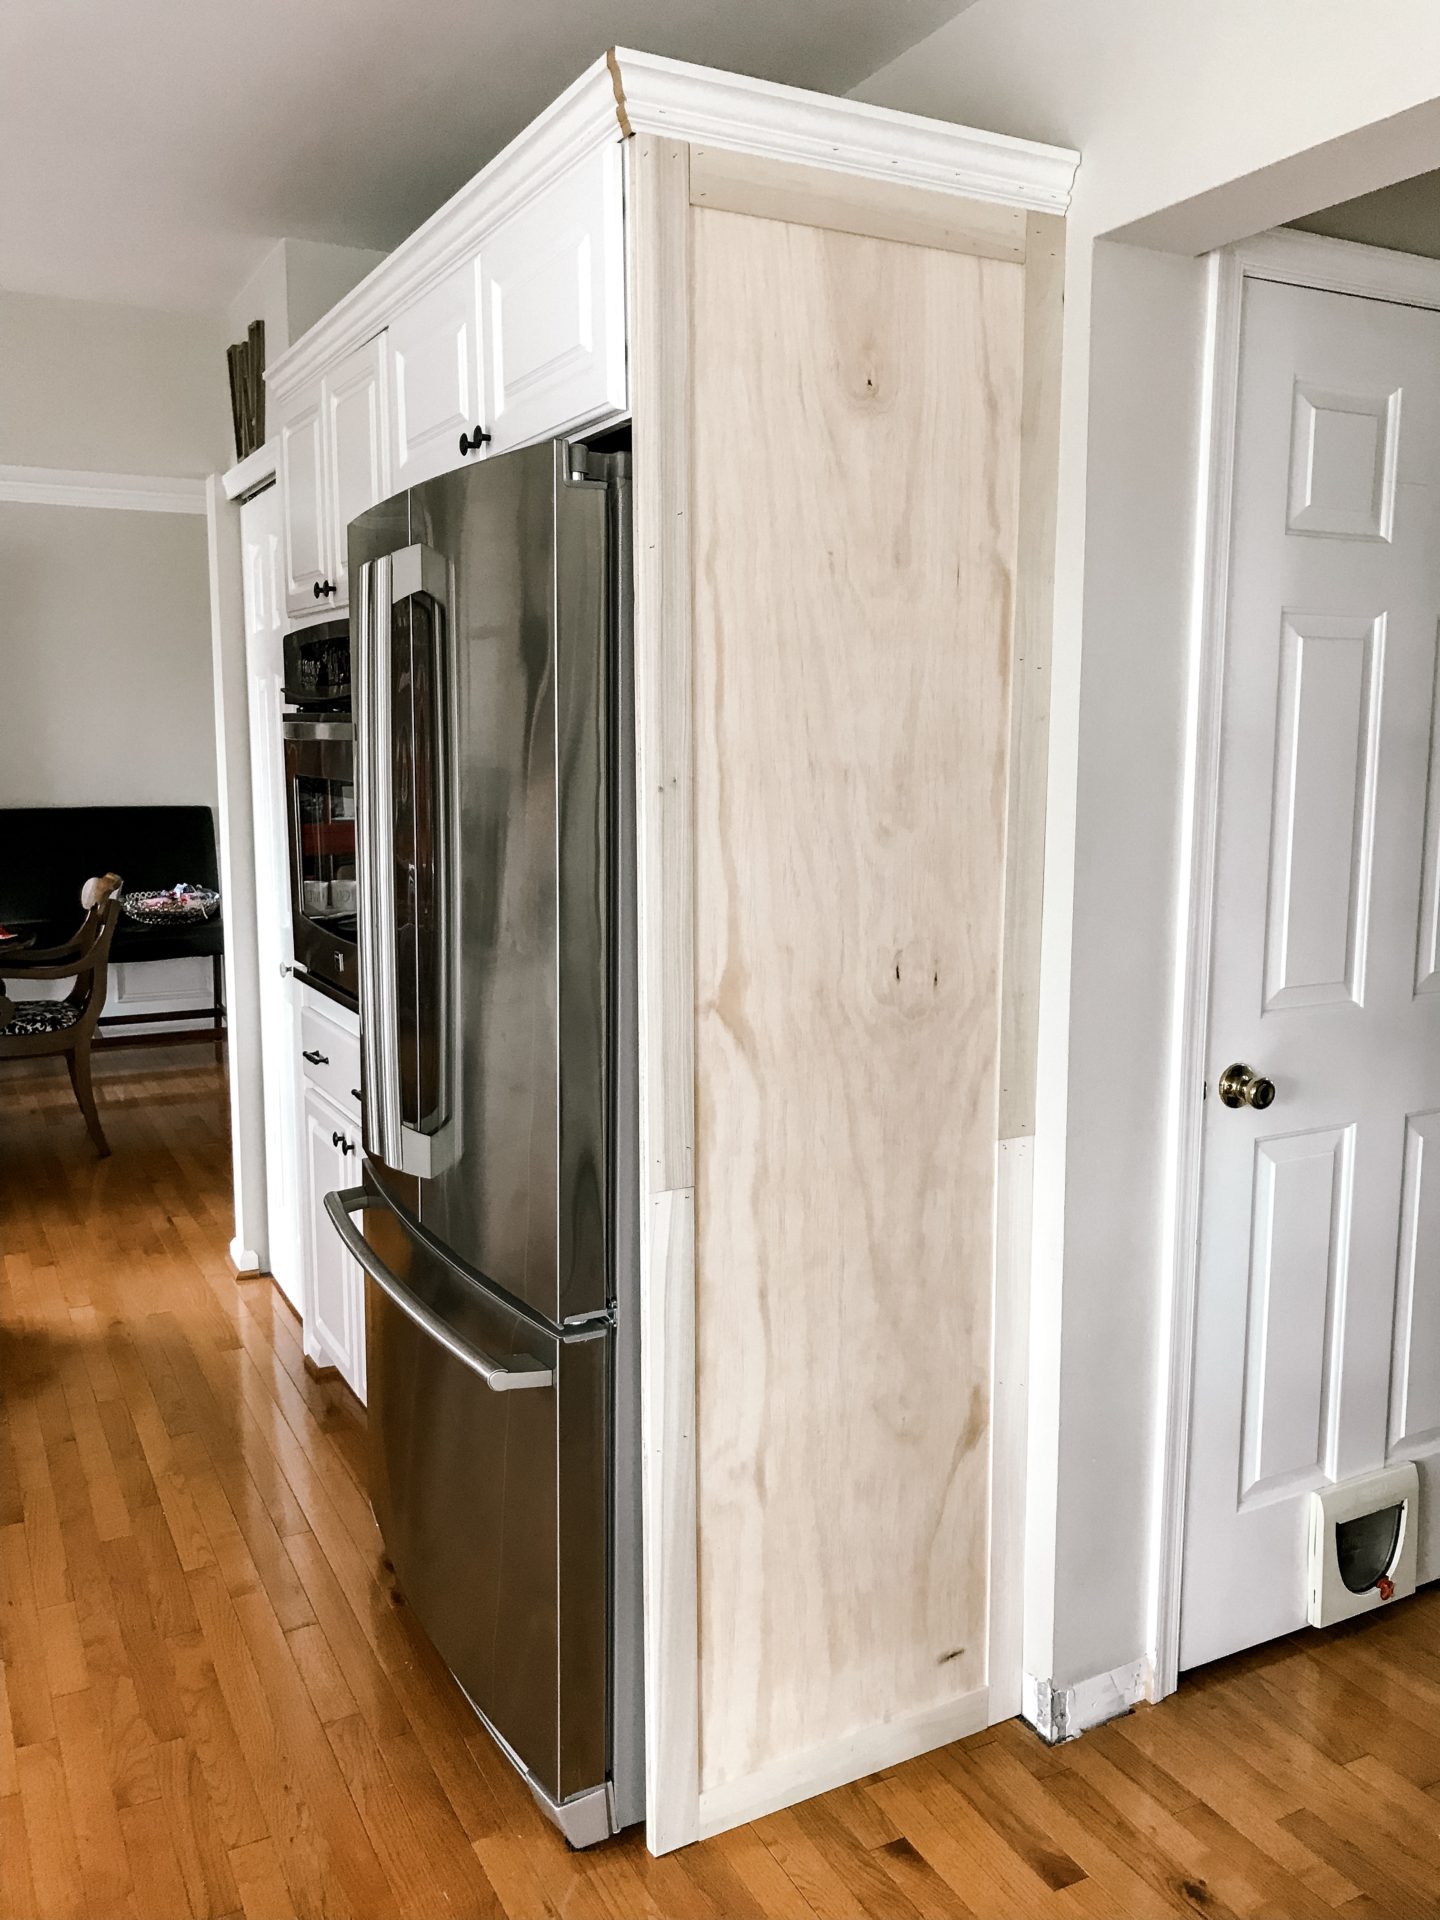
As you can see in the photo, instead of removing and cutting a new piece of crown moulding, we just cut a small wedge to fit into the gap. Once it was caulked and painted, no one could tell. Against my better judgement, I decided to first paint the board with magnetic primer. I thought this would be the perfect place for Harrison to play with magnetic letters and to display artwork or photos.
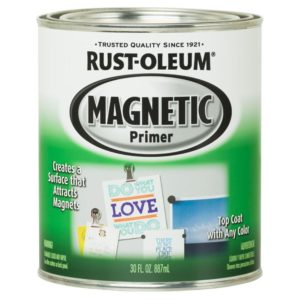
Basically, the magnetic primer is very hard to manage and you have to do 3 coats (or more) for it to work. Since I was painting such a large area, I ended up focusing mainly on the bottom with the magnetic primer and then I covered the whole board with one coat of chalkboard paint. The trim is painted with Glidden wedding white semi-gloss to match the rest of the trim throughout our house.
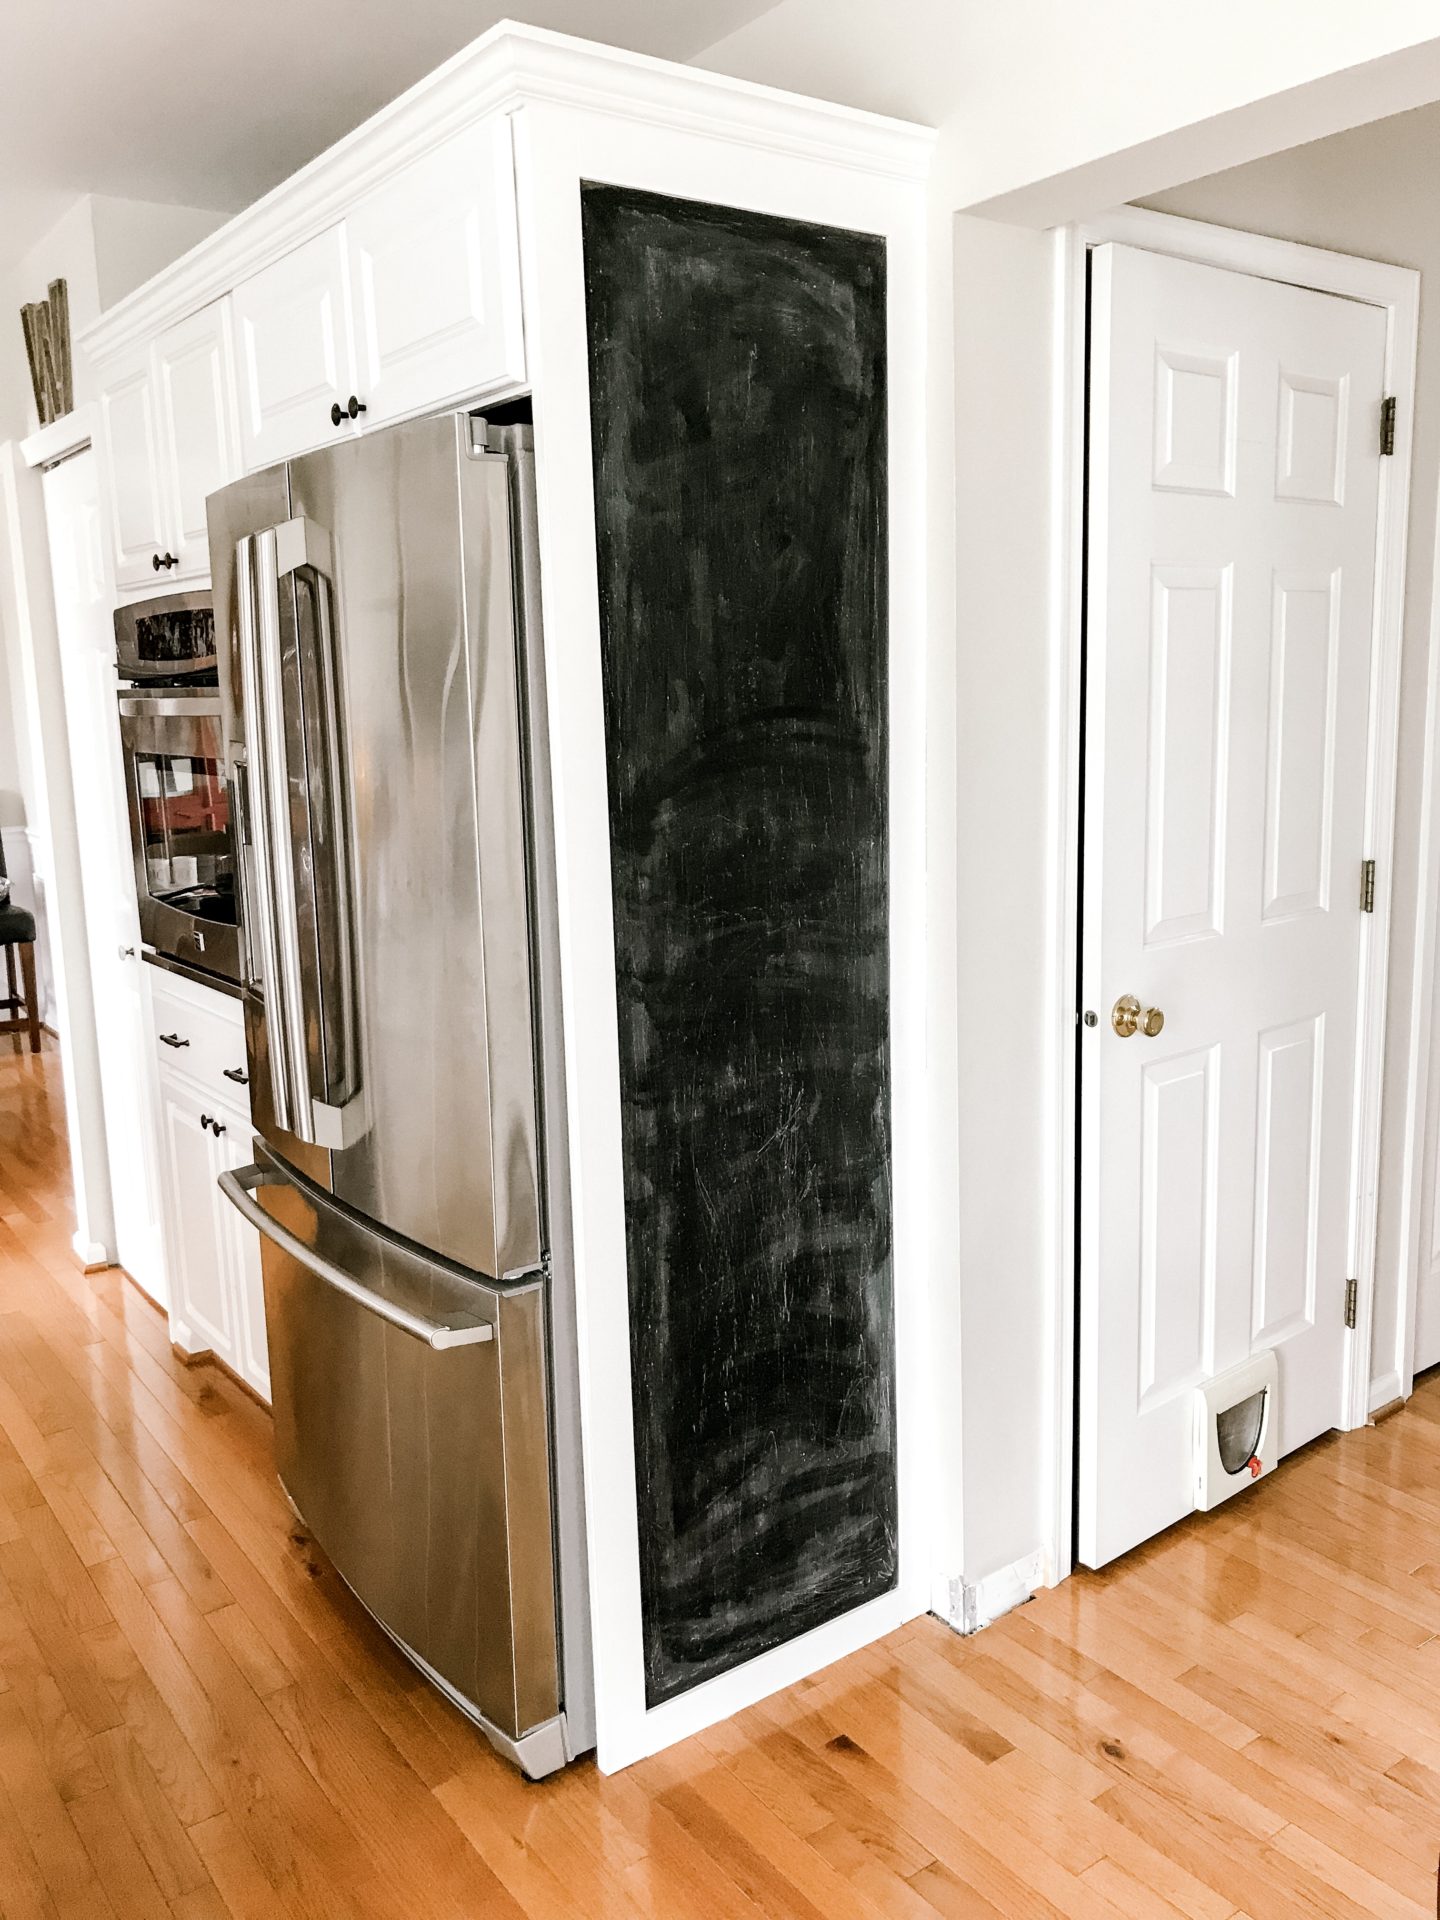
Priming The Chalkboard
It is recommended that you prime a new chalkboard before writing on it. I used sidewalk chalk for this. You turn the chalk sideways and cover the entire surface of the board with chalk. Then take a dry paper towel or rag and wipe the chalkboard down. This is SO messy. There will be chalk dust everywhere. It may be a good idea to first paint and prime the plywood outside if you plan to tackle this project. (Why didn’t I think of this before?!)
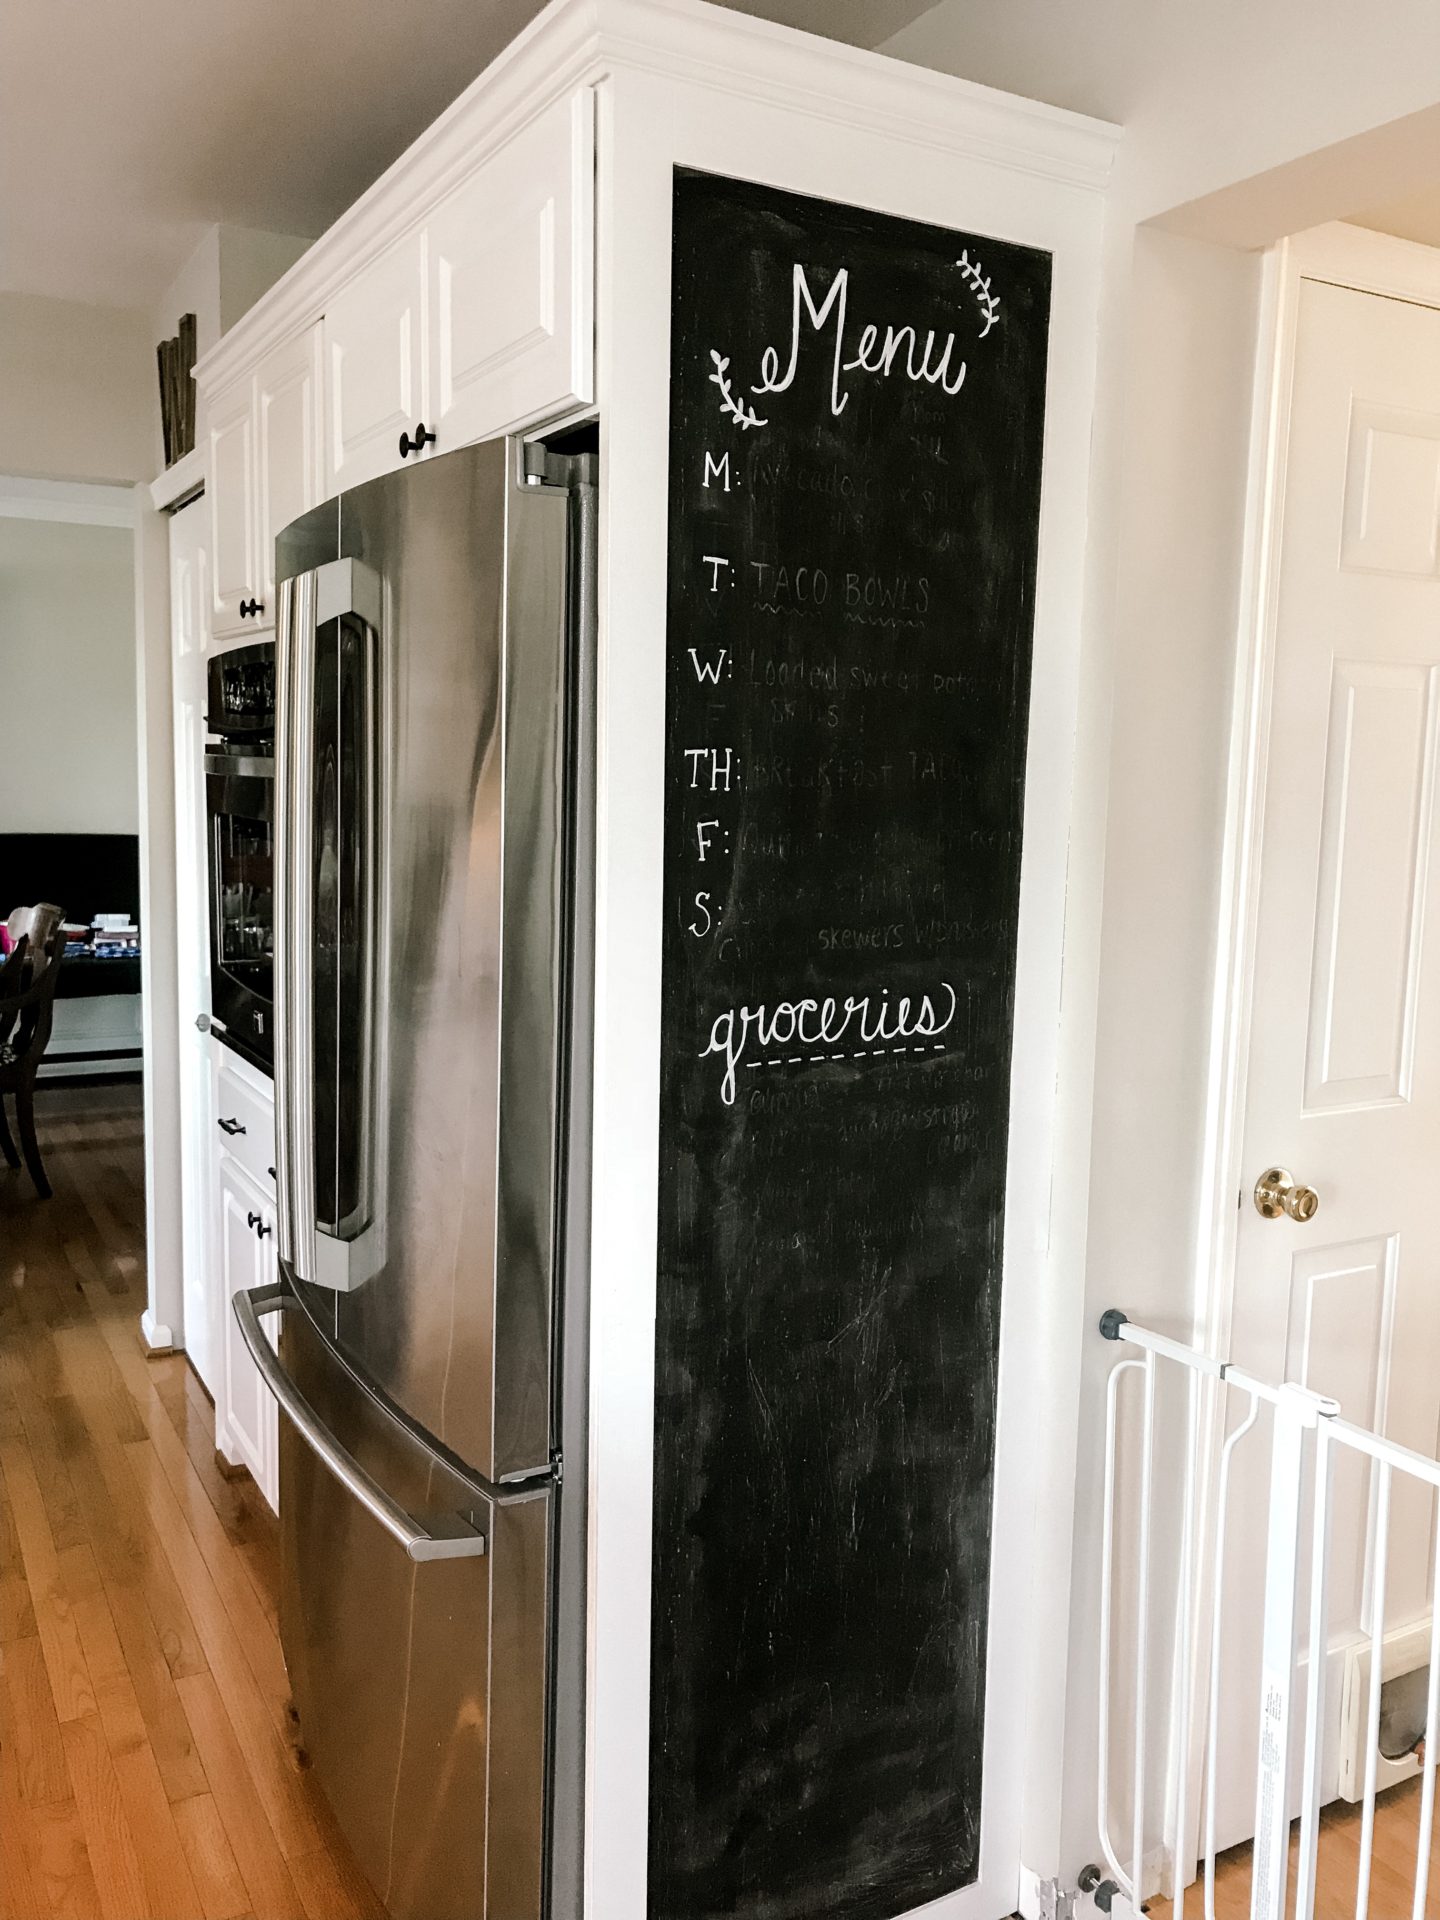
We did finally finish up the trim and added a lovely baby gate to keep our 15-month old contained 
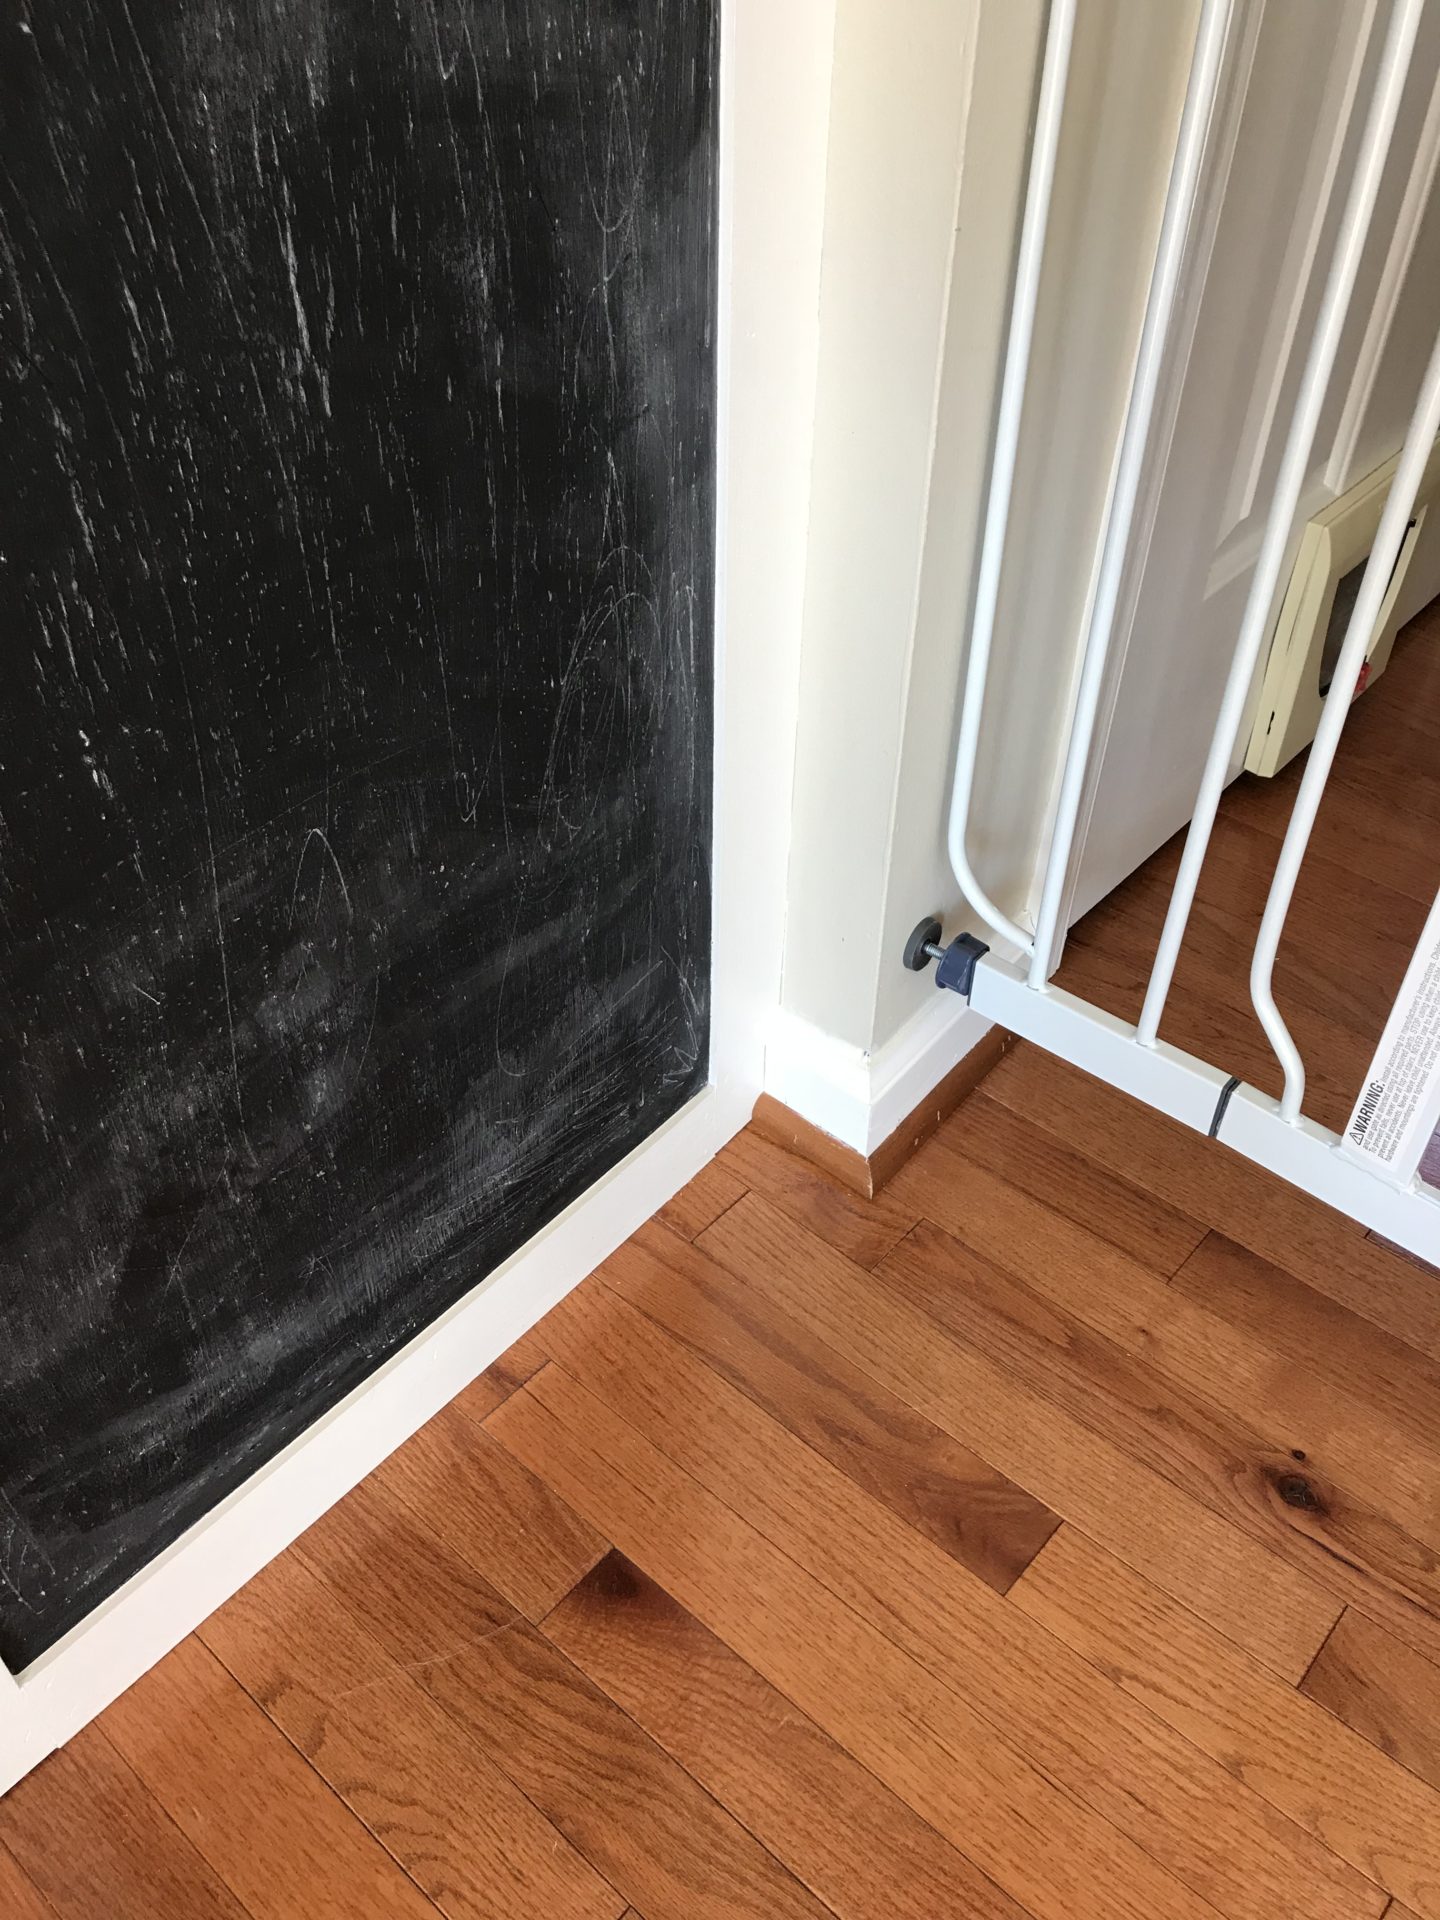
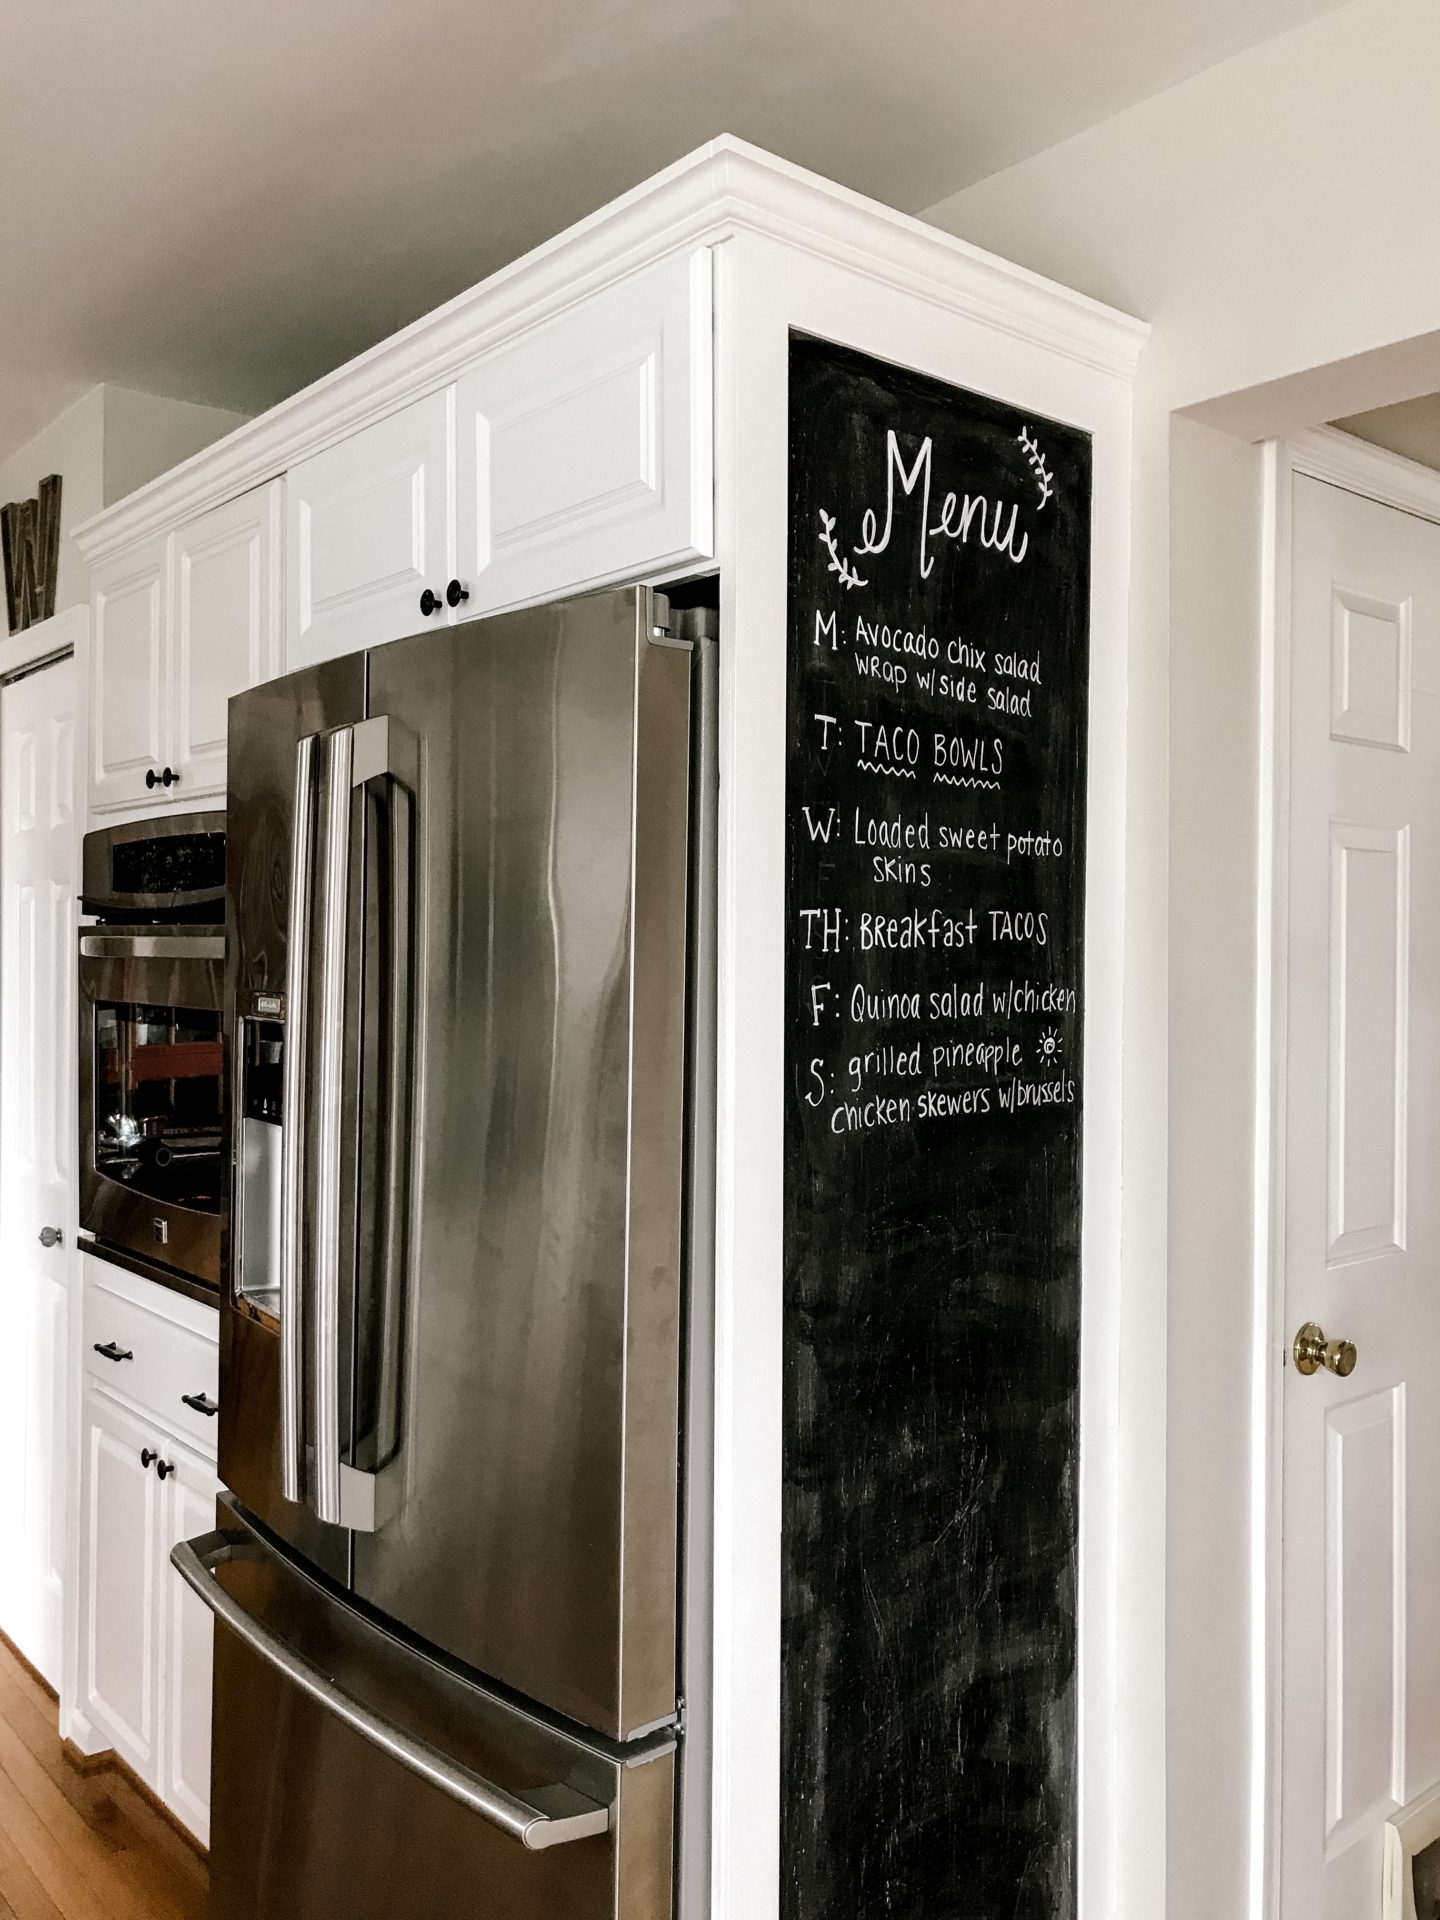
The Finished Product!
I LOVE how the chalkboard turned out. It’s the perfect place to write the menu for the week, or jot down groceries. You need pretty strong magnets for it to actually hold anything, and surprise surprise, I haven’t even purchased those magnetic letters yet for Harrison. I did find a set that are cute aesthetic colors – you can find them here.
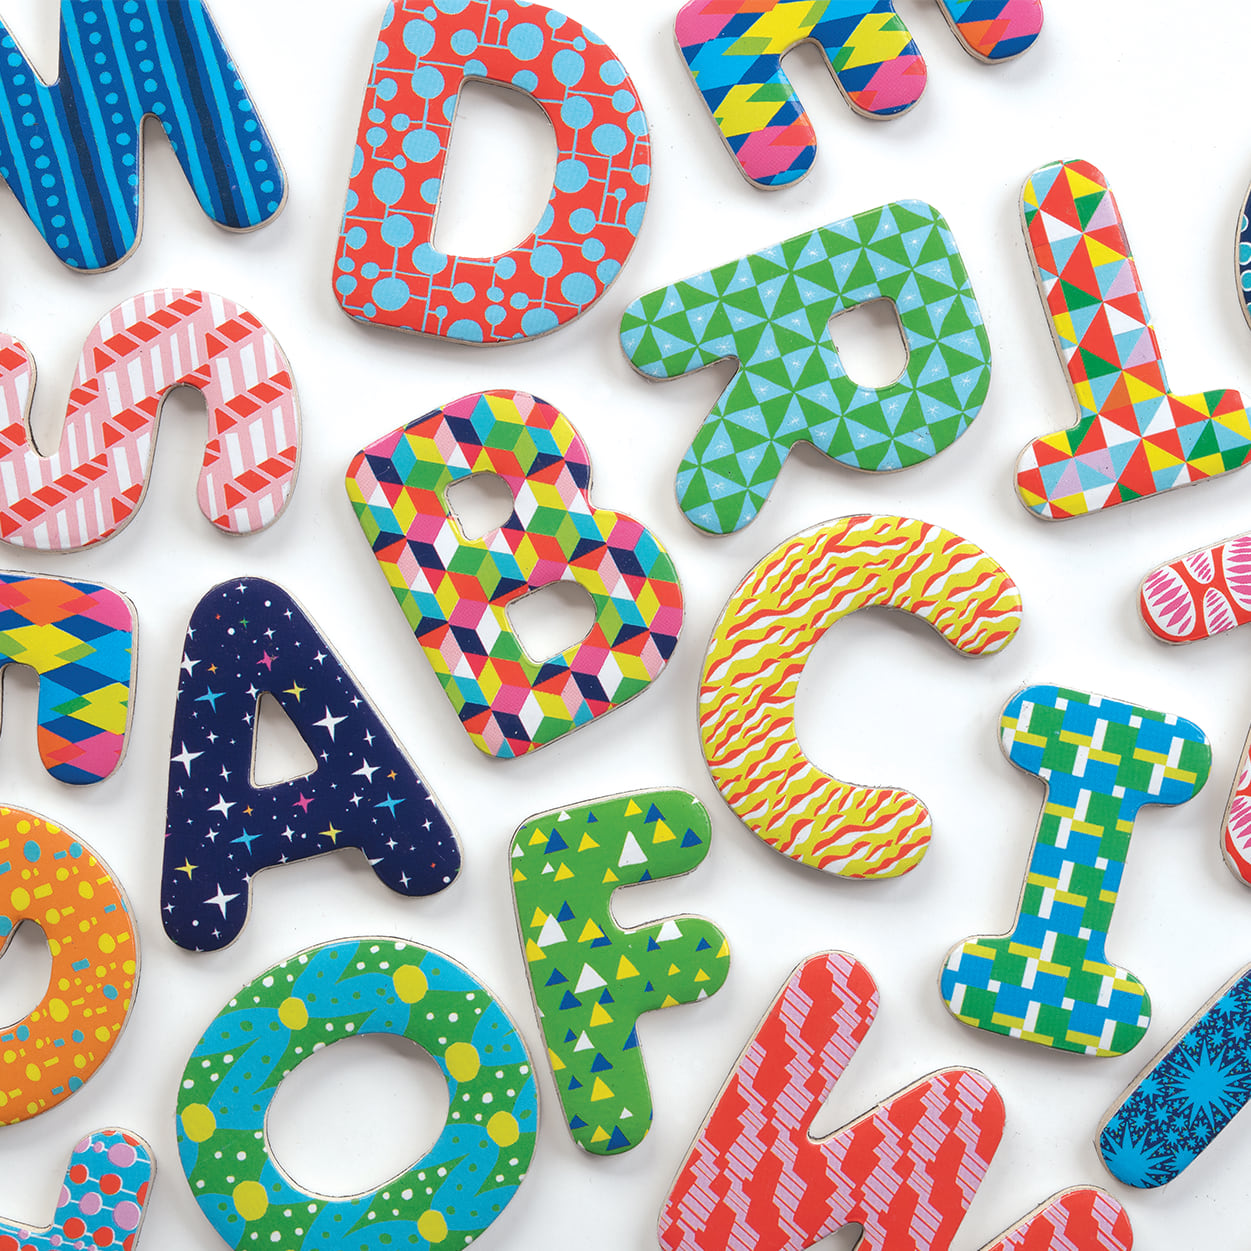
Thanks for stopping by. Please leave any questions you may have below!
Love,




 Sw
Sw

 Ado
Ado
Cool Project! Looks great! And yes, sometimes it takes quite a bit of convincing my other half to do projects. Marriage is about compromise, right?!
Haha yess so much compromise!! I’m just thankful he likes to do projects even if it’s an argument sometimes