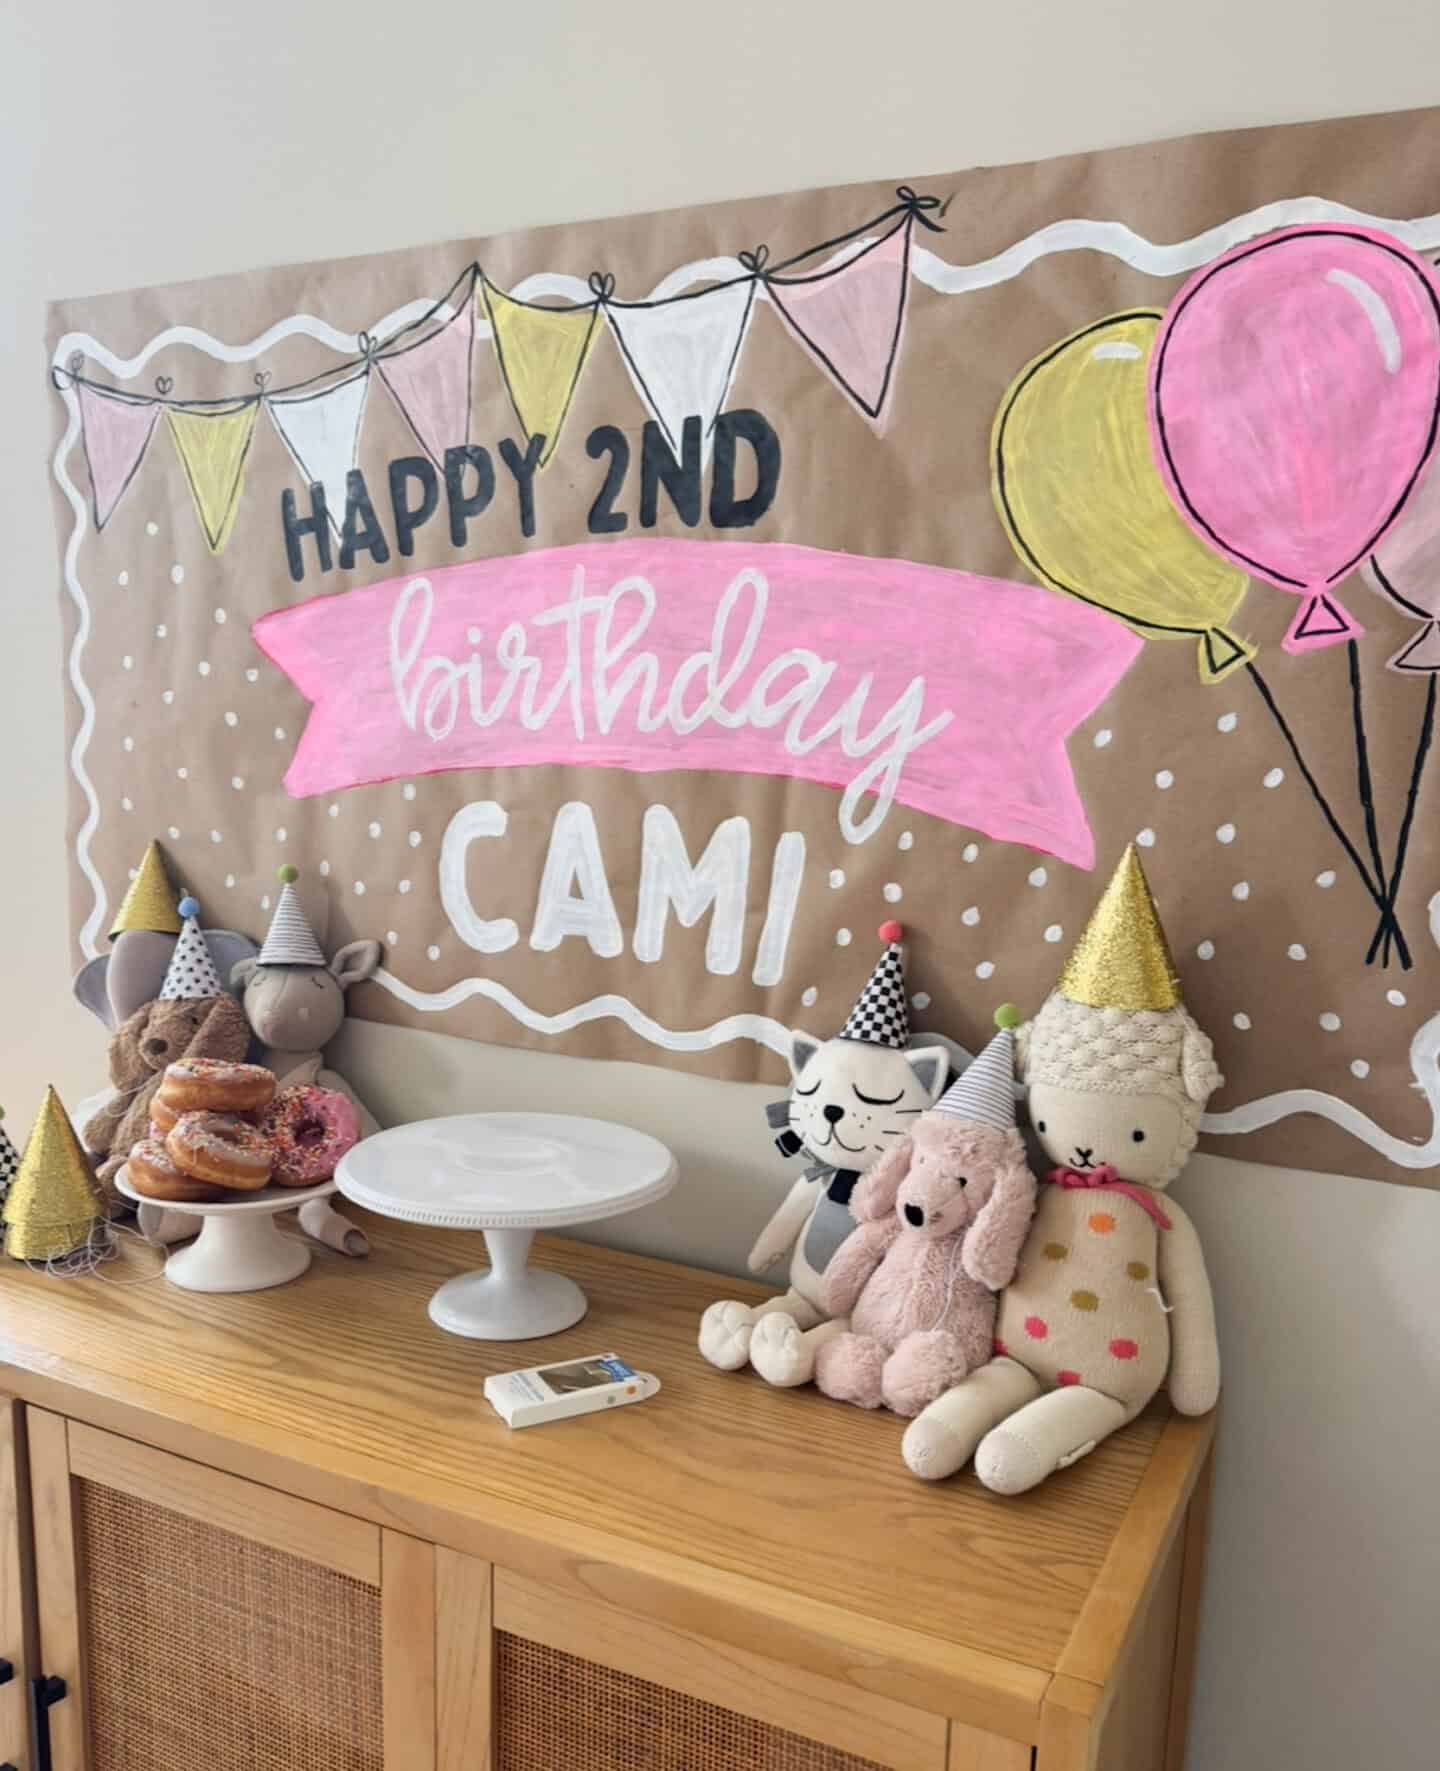
If you’re looking for a fun, affordable, and totally customizable way to level up your kid’s birthday party decor, a DIY painted birthday banner is such a win. The best part? You don’t have to be “artistic” to make it look amazing.
This post may contain affiliate links. If you make a purchase through one, I may earn a small commission at no extra cost to you. Thank you for supporting my content.
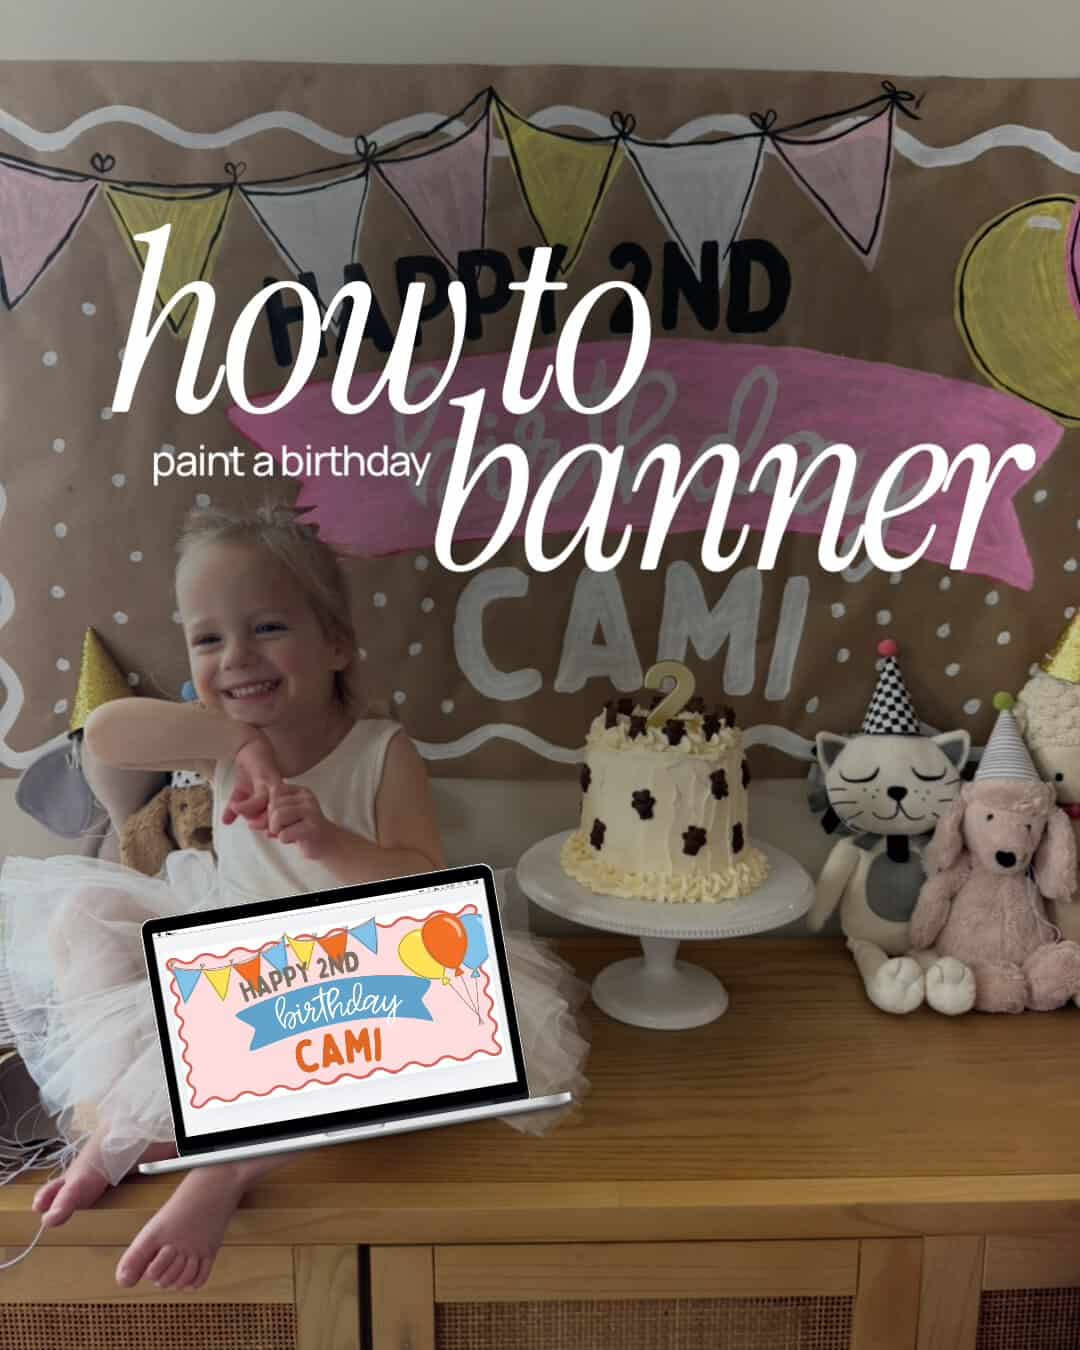
I actually used a Canva design and a projector to trace mine, and it made the whole process so easy and clean-looking.
As a mom, I’m always trying to find simple ways to make birthdays feel special without overcomplicating things—and this project is exactly that.
Why a DIY Painted Birthday Banner Is Worth It
There are so many store-bought birthday banners out there, but making your own has major benefits:
- Fully customizable to your party theme
- Budget-friendly compared to custom decor
- Perfect as a photo backdrop
- Adds a handmade, personal touch
And with the Canva + projector method, you get that “custom signage” look without the stress of freehand lettering.
Supplies You’ll Need
- Kraft paper roll
- Acrylic paint or paint pens
- Paint brushes (various sizes)
- Canva design (printed or pulled up on device)
- Projector (mini projector or phone projector works too)
- Pencil for tracing
- Painter’s tape
FREE CANVA TEMPLATE
Grab your copy of my free template here that you can customize for your child’s birthday!

How to Make a Painted Birthday Banner (Canva + Projector Method)
1. Create Your Design in Canva
Start by designing your banner in Canva. Create a custom size that is 8 inches wide and 4 inches high. Choose your fonts, colors, and layout. Keep it simple and bold so it’s easy to trace later. Or you can use mine that I created HERE.
2. Project Your Design Onto Your Banner
Tape your blank banner to a wall and use a projector to display your Canva design onto the surface.
Adjust the size until everything fits the way you want it. This projector is totally worth it, it takes all the guesswork out of spacing and lettering. You can watch movies on it too!
3. Trace Your Design Lightly
Use a pencil to trace the outlines of your letters and graphics. I was short on time, so I did not do this but it will definitely make it easier because once it’s traced, you can turn off your projector.
Don’t press too hard—you just need a light guide for painting.
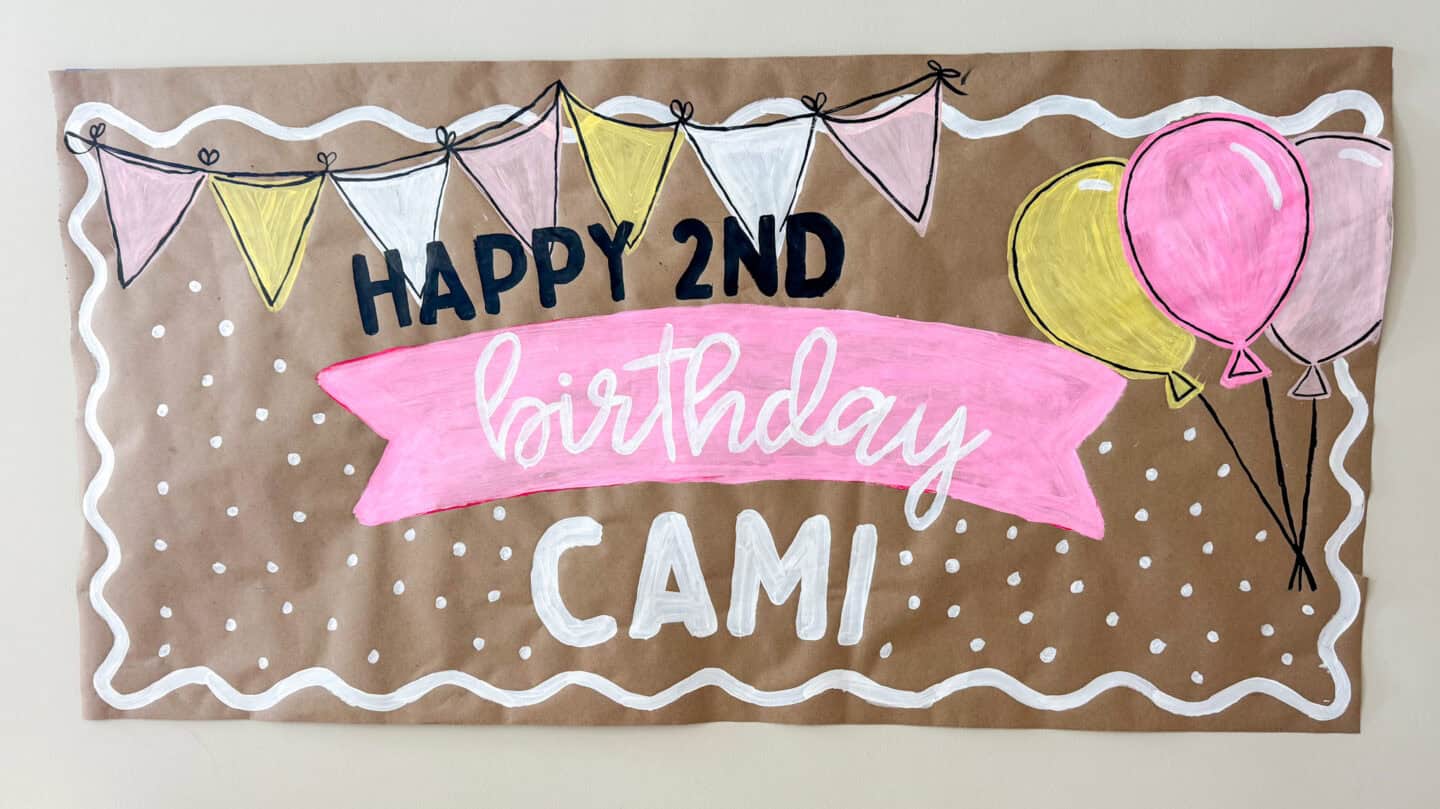
4. Paint Your Banner
Now fill everything in with acrylic paint or paint pens.
This is where it starts to really come to life. Don’t worry about perfection—the handmade feel is what makes it so cute.
6. Let It Dry & Hang It Up
Give it plenty of time to dry before hanging so nothing smears. I just used painter’s tape looped on the back to hand mine on the wall and it stayed for weeks. I didn’t want to take it down, it looked so cute!
WATCH THE VIDEO TUTORIAL
I created a reel showing the banner painting process from start to finish, watch here and let me know if you have any questions!
Why the Canva + Projector Hack Works So Well
If you’re not confident in your handwriting or drawing skills, this method makes a huge difference.
It helps you:
- Get perfectly spaced lettering
- Match your party theme exactly
- Save time on planning and sketching
- Create a polished, custom-looking banner
It honestly feels like cheating—but in the best way.
A DIY painted birthday banner is one of the easiest ways to make a birthday feel special without spending a ton of money or time. Using Canva and a projector takes it to the next level and makes it super beginner-friendly. This was my first time trying it and I think it turned out so cute.
It’s simple, affordable, and honestly one of those projects you’ll want to repeat for every birthday going forward.


Leave a Reply